Gai Ob Naam Pueng - Honey-Baked Chicken
You'll love gai ob naam pueng, a Thai-inspired honey-baked chicken dish that combines succulent poultry with a rich, caramelized glaze. To prepare, marinate your chicken pieces overnight, then coat them with a honey-butter mixture enhanced with Dijon mustard and aromatic spices. Bake at 375°F, basting every 15 minutes until golden brown. Serve this traditional favorite with jasmine rice and cucumber salad for an authentic experience that holds centuries of culinary secrets.
Key Takeaways
- Gai Ob Naam Pueng is a Thai-style honey-baked chicken dish where chicken pieces are glazed with honey and seasonings during baking.
- The dish requires marinating chicken overnight and baking at 375°F for 45-50 minutes, basting every 15 minutes for caramelization.
- Traditional preparation combines honey, Dijon mustard, melted butter, and Asian seasonings for a sweet-savory glaze that caramelizes while cooking.
- Serve with steamed jasmine rice and Asian vegetables for an authentic Thai meal experience, garnished with fresh herbs.
- The dish symbolizes prosperity in Thai culture and demonstrates the fusion of traditional Asian flavors with modern baking techniques.
History
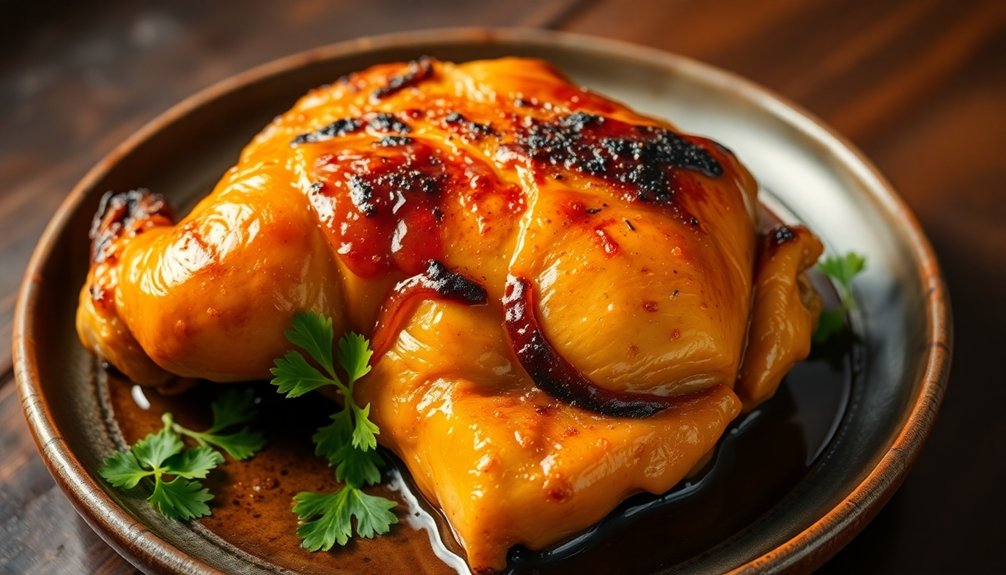
Although the exact origins of honey-baked chicken remain unclear, this beloved dish emerged from ancient cooking traditions that prized the natural sweetness of honey as a glaze for poultry.
You'll find its ancient origins traced back to multiple cultures where honey was considered a precious ingredient, valued both for its flavor and ceremonial significance.
Throughout history, you'd discover variations of honey-glazed poultry appearing in Mediterranean, Asian, and Middle Eastern cuisines.
The cultural significance of this dish often stemmed from honey's status as a luxury ingredient, making honey-baked chicken a celebration food.
In many societies, you'd see this dish served during festivals and special occasions, where the golden-brown glaze symbolized prosperity and abundance.
The technique of basting poultry with honey has been passed down through generations, preserving its traditional preparation methods.
Recipe
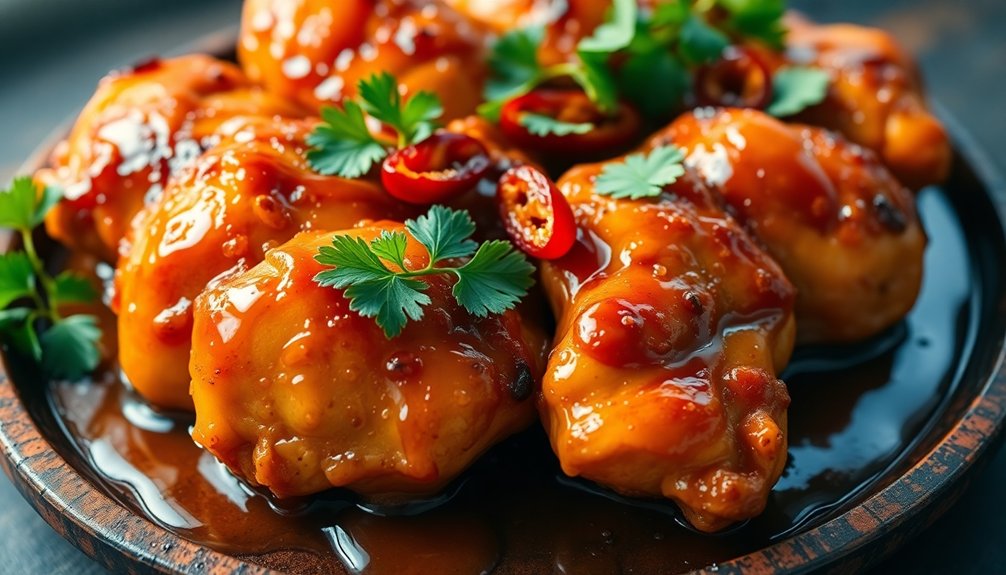
Serves: 4-6
Prep Time: 15 minutes
Cook Time: 45 minutes
Ingredients:
- 3 lbs chicken pieces (legs, thighs, breasts)
- 1/3 cup butter, melted
- 1/3 cup honey
- 2 tablespoons Dijon mustard
- 1 teaspoon salt
- 1/4 teaspoon black pepper
- 1 teaspoon garlic powder
- 1 teaspoon paprika
Instructions:
- Preheat oven to 375°F (190°C).
- Arrange chicken pieces in a single layer in a baking dish.
- In a bowl, combine melted butter, honey, Dijon mustard, salt, pepper, garlic powder, and paprika.
- Pour honey mixture over chicken, coating each piece well.
- Bake uncovered for 45-50 minutes, basting every 15 minutes with pan juices.
- Cook until chicken is golden brown and internal temperature reaches 165°F (74°C).
- Let rest for 5 minutes before serving.
- Spoon pan juices over chicken when serving.
Cooking Steps
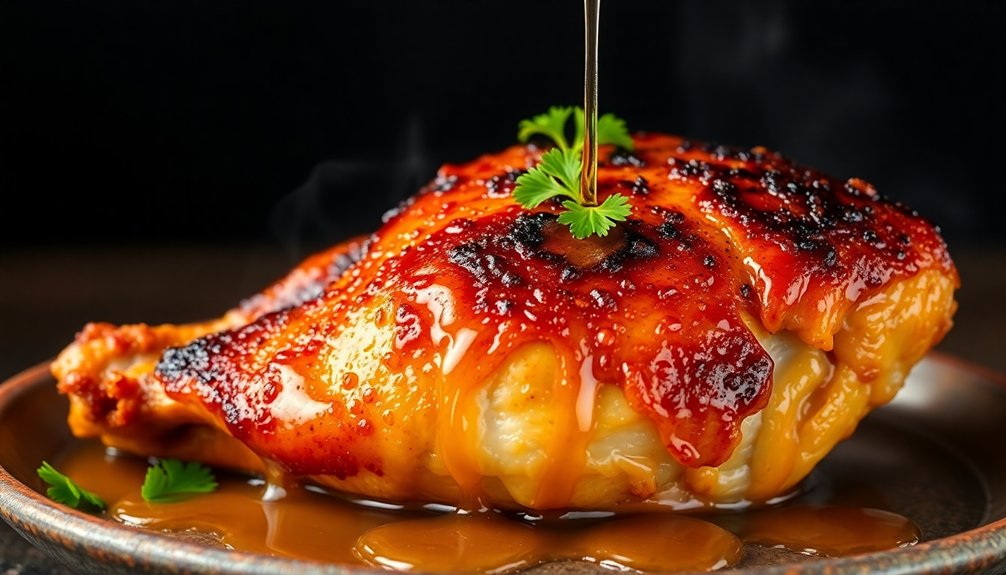
You'll want to start by thoroughly cleaning your chicken and preparing a sweet honey glaze mixed with your chosen seasonings for maximum flavor penetration.
For the best results, let your chicken marinate in the refrigerator overnight before baking it at 375 degrees in a preheated oven.
Throughout the cooking process, you'll need to brush additional honey glaze onto the chicken every 15 minutes to achieve that signature golden-brown, caramelized finish.
Step 1. Clean Chicken Thoroughly First
Before starting your honey-baked chicken recipe, properly clean the raw chicken under cold running water. Remove any excess fat, skin blemishes, or unwanted parts.
Pat the chicken completely dry using paper towels, making sure to get into all the crevices and joints.
For ideal chicken safety, sanitize your sink and surrounding countertops immediately after handling raw poultry. Don't let the raw chicken juices splash onto other surfaces during the cleaning process.
Keep your cleaning techniques consistent by using separate cutting boards and utensils for raw chicken preparation. After handling the raw meat, wash your hands thoroughly with soap and warm water for at least 20 seconds.
Remember that proper cleaning isn't just about the chicken - it's about maintaining a safe cooking environment throughout your preparation.
Step 2. Mix Honey With Seasonings
While the chicken rests after cleaning, prepare the honey-based seasoning mixture that will create the signature glaze. In a mixing bowl, combine 1/4 cup of raw honey with 2 tablespoons of light soy sauce, 1 tablespoon of dark soy sauce, and 2 minced garlic cloves.
The honey's natural antimicrobial benefits help preserve the chicken while adding a golden caramel color during baking.
For seasoning variations, you'll find different regional preferences across Thailand. Some cooks add a teaspoon of Chinese five-spice powder or white pepper for depth, while others incorporate fresh ginger or lemongrass.
You can also adjust the honey-to-soy ratio to balance sweetness with saltiness. Whisk all ingredients until they're well combined and slightly thickened, ensuring even coating when applied to the chicken.
Step 3. Marinate Chicken Overnight First
The honey-soy marinade needs proper time to work its magic on the chicken. For ideal marinade benefits, you'll want to let your chicken pieces rest in the mixture overnight, allowing the flavors to penetrate deep into the meat.
This traditional preparation method guarantees your finished dish will have that authentic Thai taste with maximum flavor enhancement.
- Place your chicken pieces in a non-reactive container and pour the marinade over them, making sure each piece is well-coated.
- Cover the container tightly with plastic wrap or a lid, then refrigerate for 12-24 hours, turning the pieces once halfway through.
- Remove the chicken from the refrigerator 30 minutes before cooking to let it come to room temperature, which helps guarantee even baking.
Step 4. Bake at 375 Degrees
Setting up your honey-baked chicken for ideal results requires precise temperature control and timing. Preheat your oven to 375 degrees Fahrenheit and position the rack in the middle.
Place your marinated chicken in a greased baking dish, making sure pieces don't overlap. The baking temperature at 375 degrees provides the perfect balance between developing a golden-brown exterior while keeping the meat juicy inside.
Your cooking duration will be approximately 45-50 minutes for bone-in pieces, or 30-35 minutes for boneless cuts. You'll know it's done when the internal temperature reaches 165 degrees Fahrenheit.
During the last 15 minutes of cooking, brush the chicken with additional honey mixture to create a glossy, caramelized finish. Let the chicken rest for 5-10 minutes before serving.
Step 5. Brush Honey Glaze While Cooking
Brushing your honey glaze during cooking creates layers of sweet, sticky caramelization that transforms ordinary chicken into an irresistible main dish.
The honey's natural benefits infuse deep into the meat, adding both moisture and antimicrobial properties that enhance the chicken's flavor and preservation.
- Start brushing your honey glaze after the first 20 minutes of baking, using gentle, even strokes to coat the entire surface.
- Apply a second layer of glaze 15 minutes later, ensuring you don't disturb the initial caramelization that's forming.
- Make your final glaze application 10 minutes before the chicken is done, allowing the honey to create that signature glossy finish.
These precise glaze techniques result in perfectly lacquered skin while keeping the meat underneath tender and juicy.
Cooking Tips
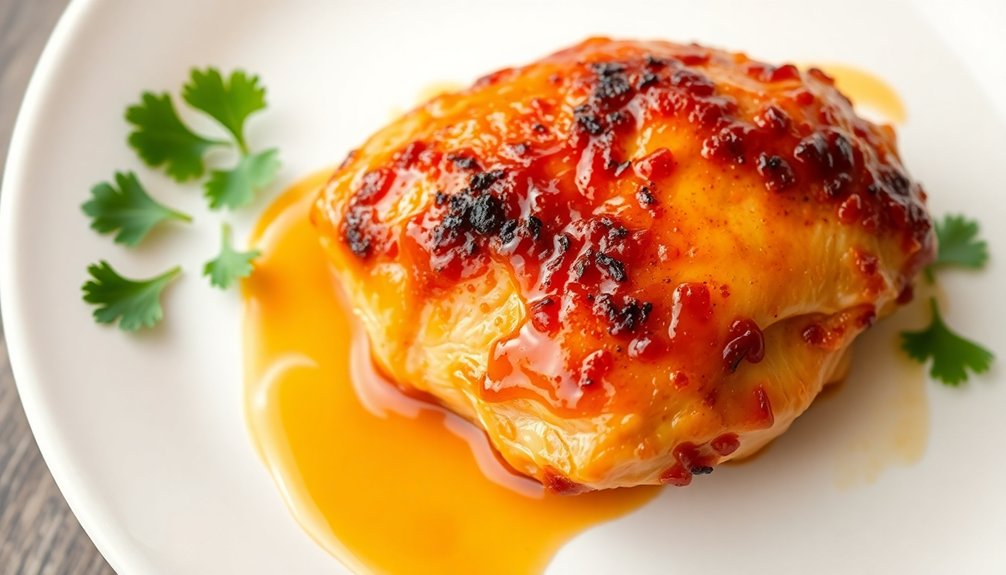
To achieve perfectly glazed honey-baked chicken, you'll need to baste the meat every 15-20 minutes during cooking. This consistent basting helps create that signature glossy exterior while keeping the meat moist and tender.
For the best results, position your chicken on a rack inside the roasting pan, allowing heat to circulate evenly.
You can experiment with marinade variations by adding minced garlic, ginger, or citrus zest to your honey mixture.
Popular cooking techniques include starting at high heat (400°F) for the first 15 minutes to achieve a golden crust, then reducing to 350°F for the remaining cooking time.
Don't forget to let your chicken rest for 10 minutes after cooking - this helps the juices redistribute throughout the meat, ensuring each bite stays succulent.
Final Thoughts
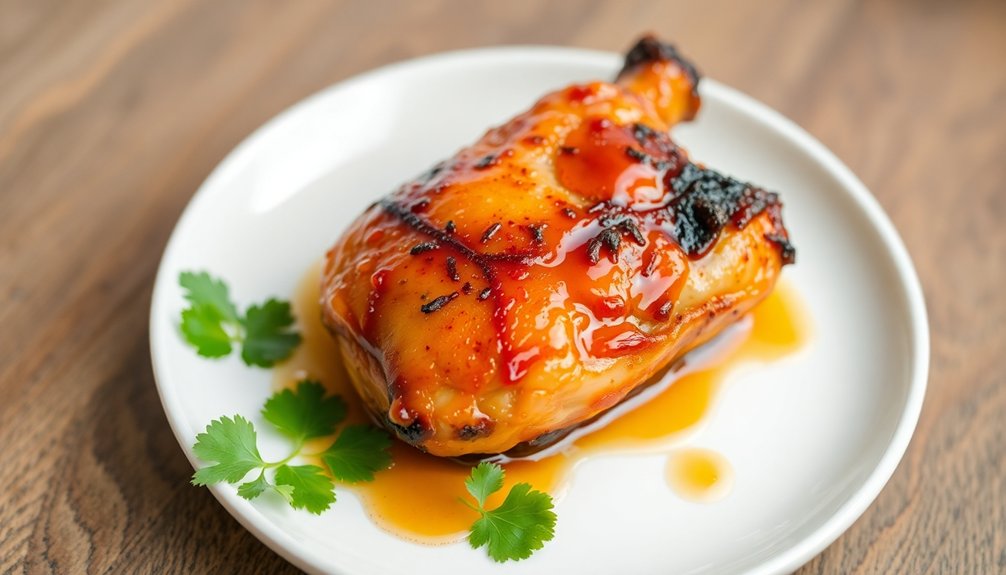
While mastering honey-baked chicken takes practice, you'll find it's worth every minute spent perfecting your technique. The combination of sweet honey glaze and tender chicken creates a dish that's both nourishing and satisfying.
This classic recipe offers numerous health benefits, as it's rich in protein and uses natural sweeteners.
- Serve your honey-baked chicken with steamed jasmine rice and Asian-inspired vegetables for a complete meal.
- Consider pairing it with a light cucumber salad to balance the sweet glaze.
- Try garnishing with fresh herbs like cilantro or Thai basil for added authenticity.
For serving suggestions, you'll want to slice the chicken against the grain and drizzle extra honey sauce over the top.
Your family will appreciate this wholesome dish that brings together traditional flavors with modern cooking methods.
Frequently Asked Questions
How Long Can Honey-Baked Chicken Be Stored in the Refrigerator?
You'll want to guarantee food safety by storing your honey-baked chicken in an airtight container for up to 3-4 days in your refrigerator at 40°F or below.
Can I Substitute Regular Soy Sauce With Light or Dark Versions?
Surprisingly, you'll find light soy sauce works perfectly, offering a cleaner taste, while dark soy sauce adds richer color and deeper umami. Both variations are acceptable substitutes for regular soy sauce.
Is It Possible to Prepare the Marinade Ahead of Time?
You can prepare the marinade up to 24 hours ahead and store it in an airtight container. This advance prep actually enhances flavors as ingredients meld together beautifully over time.
What Side Dishes Pair Well With Gai Ob Naam Pueng?
You'll want steamed jasmine rice to soak up the sweet-savory sauce. Try pairing with stir-fried morning glory, cucumber salad, or wok-tossed mixed vegetables for a balanced Thai meal.
Can This Dish Be Reheated, and What's the Best Method?
You'll find this golden delight reheats beautifully. For ideal flavor retention, cover with foil and warm in a 300°F oven for 15-20 minutes, or microwave gently in 30-second intervals.
